Installation Guide
To start using ALTO, complete several steps described below.
The overall installation process comes down to:
- Add ALTO to your Slack workspace
- Connect ALTO with GitLab/GitHub
Contents
1. Add ALTO to your Slack workspace
Visit https://youralto.com and click the top right corner button "Add to Slack" to run the installation process.

You will be asked to provide access to ALTO, this time to your Slack workspace.
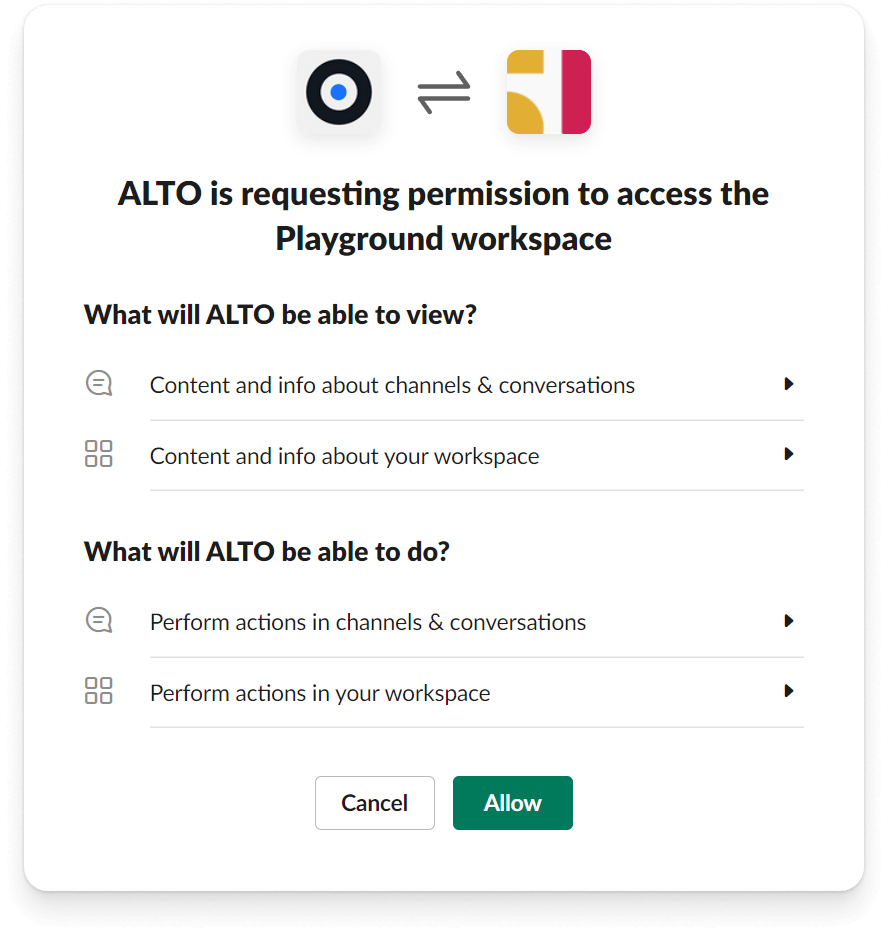
ALTO will need a number of scopes to operate. Check the table below for details:
| channels:read | view basic information about public channels in a workspace |
| chat:write | post messages in channels and conversations |
| chat:write.public | send messages to channels Alto isn't a member of |
| commands | allows usage of `/alto` command |
| groups:read | view basic info about private channels ALTO has been added to |
| im:history | view messages in direct messages that ALTO has been added to |
| im:read | view basic info about direct messages that ALTO has been added to |
| mpim:read | view basic info about group direct messages that ALTO has been added to |
| users.profile:read | view profile details about people in a workspace |
| users:read | view people in a workspace |
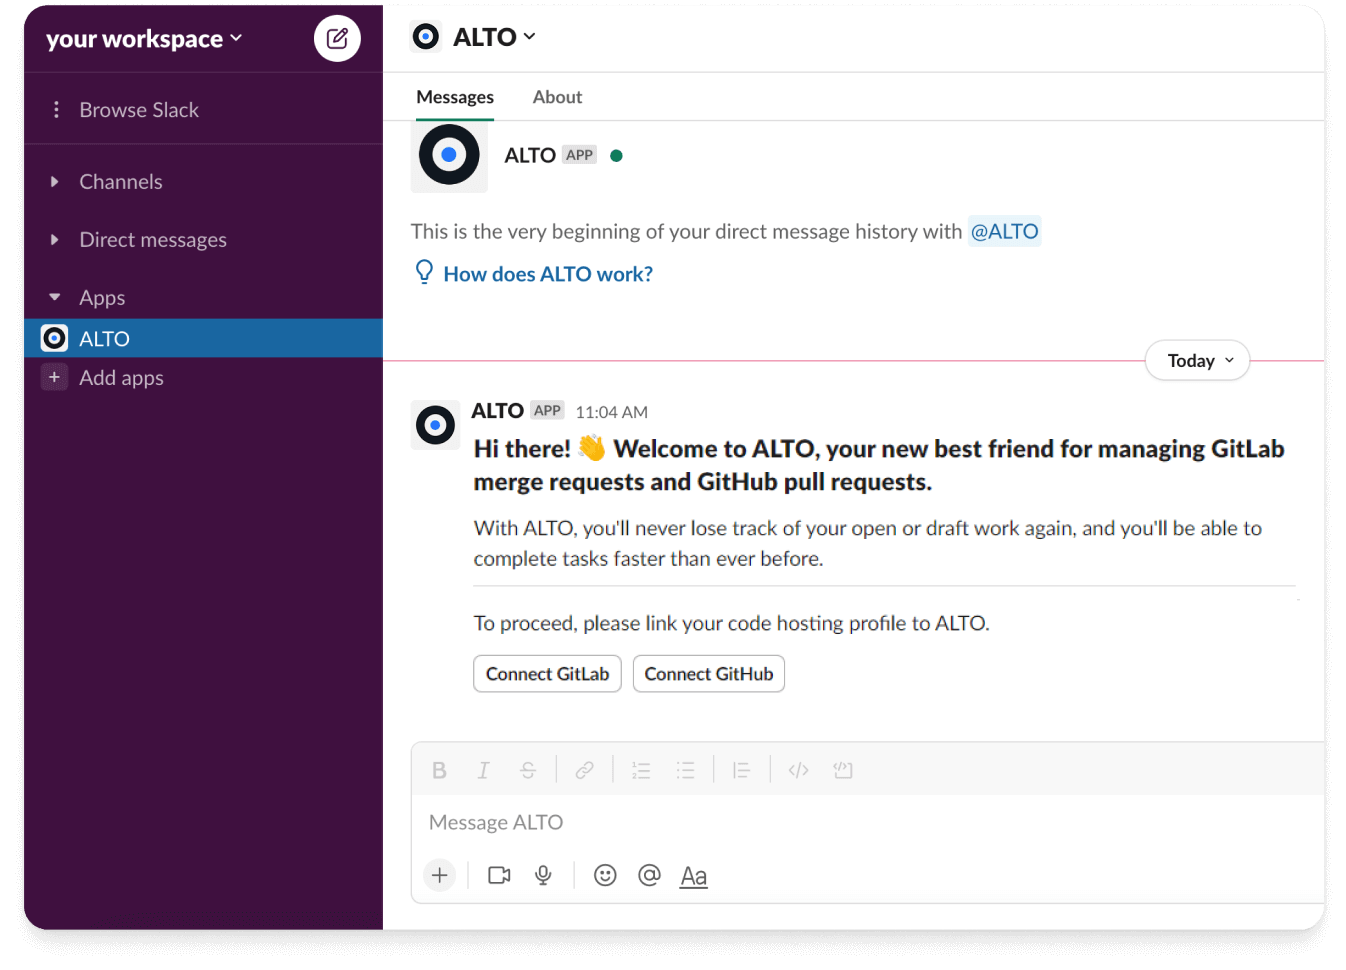
Once you give your approval, ALTO will be installed in your workspace and you will receive a welcome message.
2. Connect ALTO to GitLab, GitHub
The welcome message that ALTO sends you will have two buttons that allow you to link ALTO with GitLab and GitHub so that you can use its features, such as repository monitoring and reminders, later on.
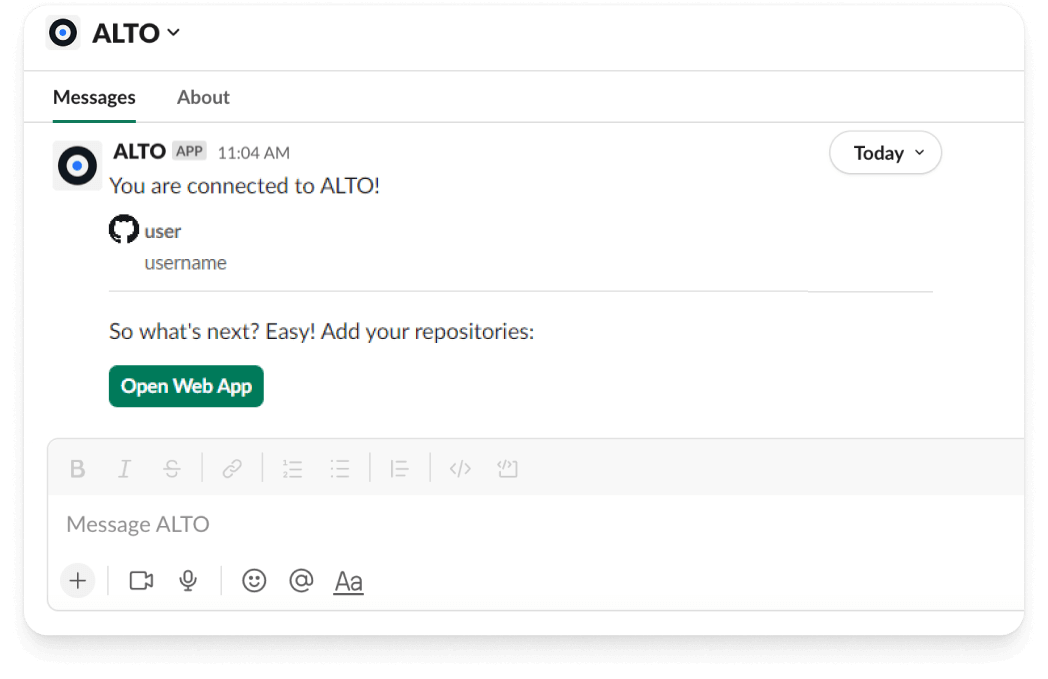
Click `Connect GitLab` or `Connect GitHub` to link it with ALTO. After connecting your code hosting service: you'll receive a success message in Slack. After that, you can add a GitLab/GitHub repository (the link will redirect you to the website).
Note: The connection link may eventually expire. If you need to run the connection process later, you can use the command `/alto connect gitlab` to receive a new link or connect to your code hosting service through the web application.
There's also an option to connect your code hosting through our web application. In order to do that, run `/alto help` and the list of commands will be sent to you.
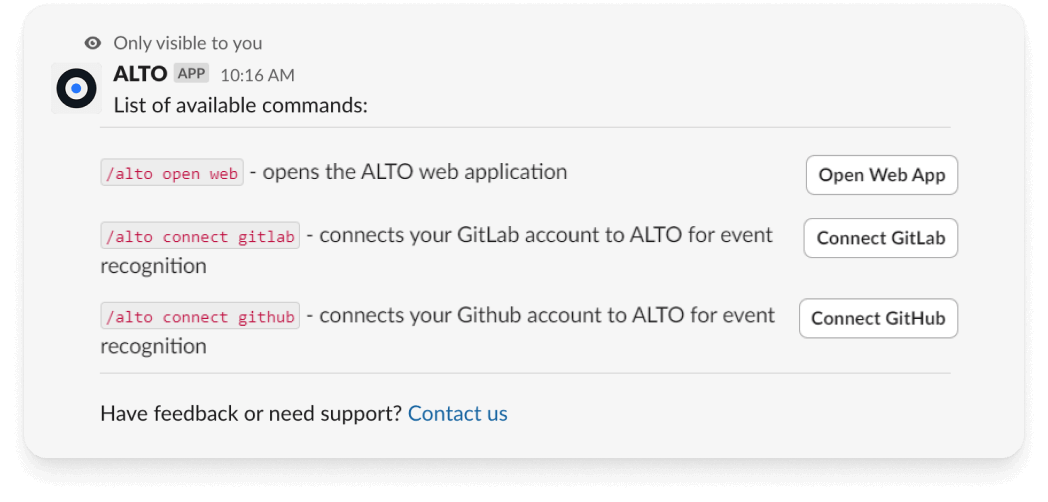
Click "Open Web App" or just run `/alto open web`
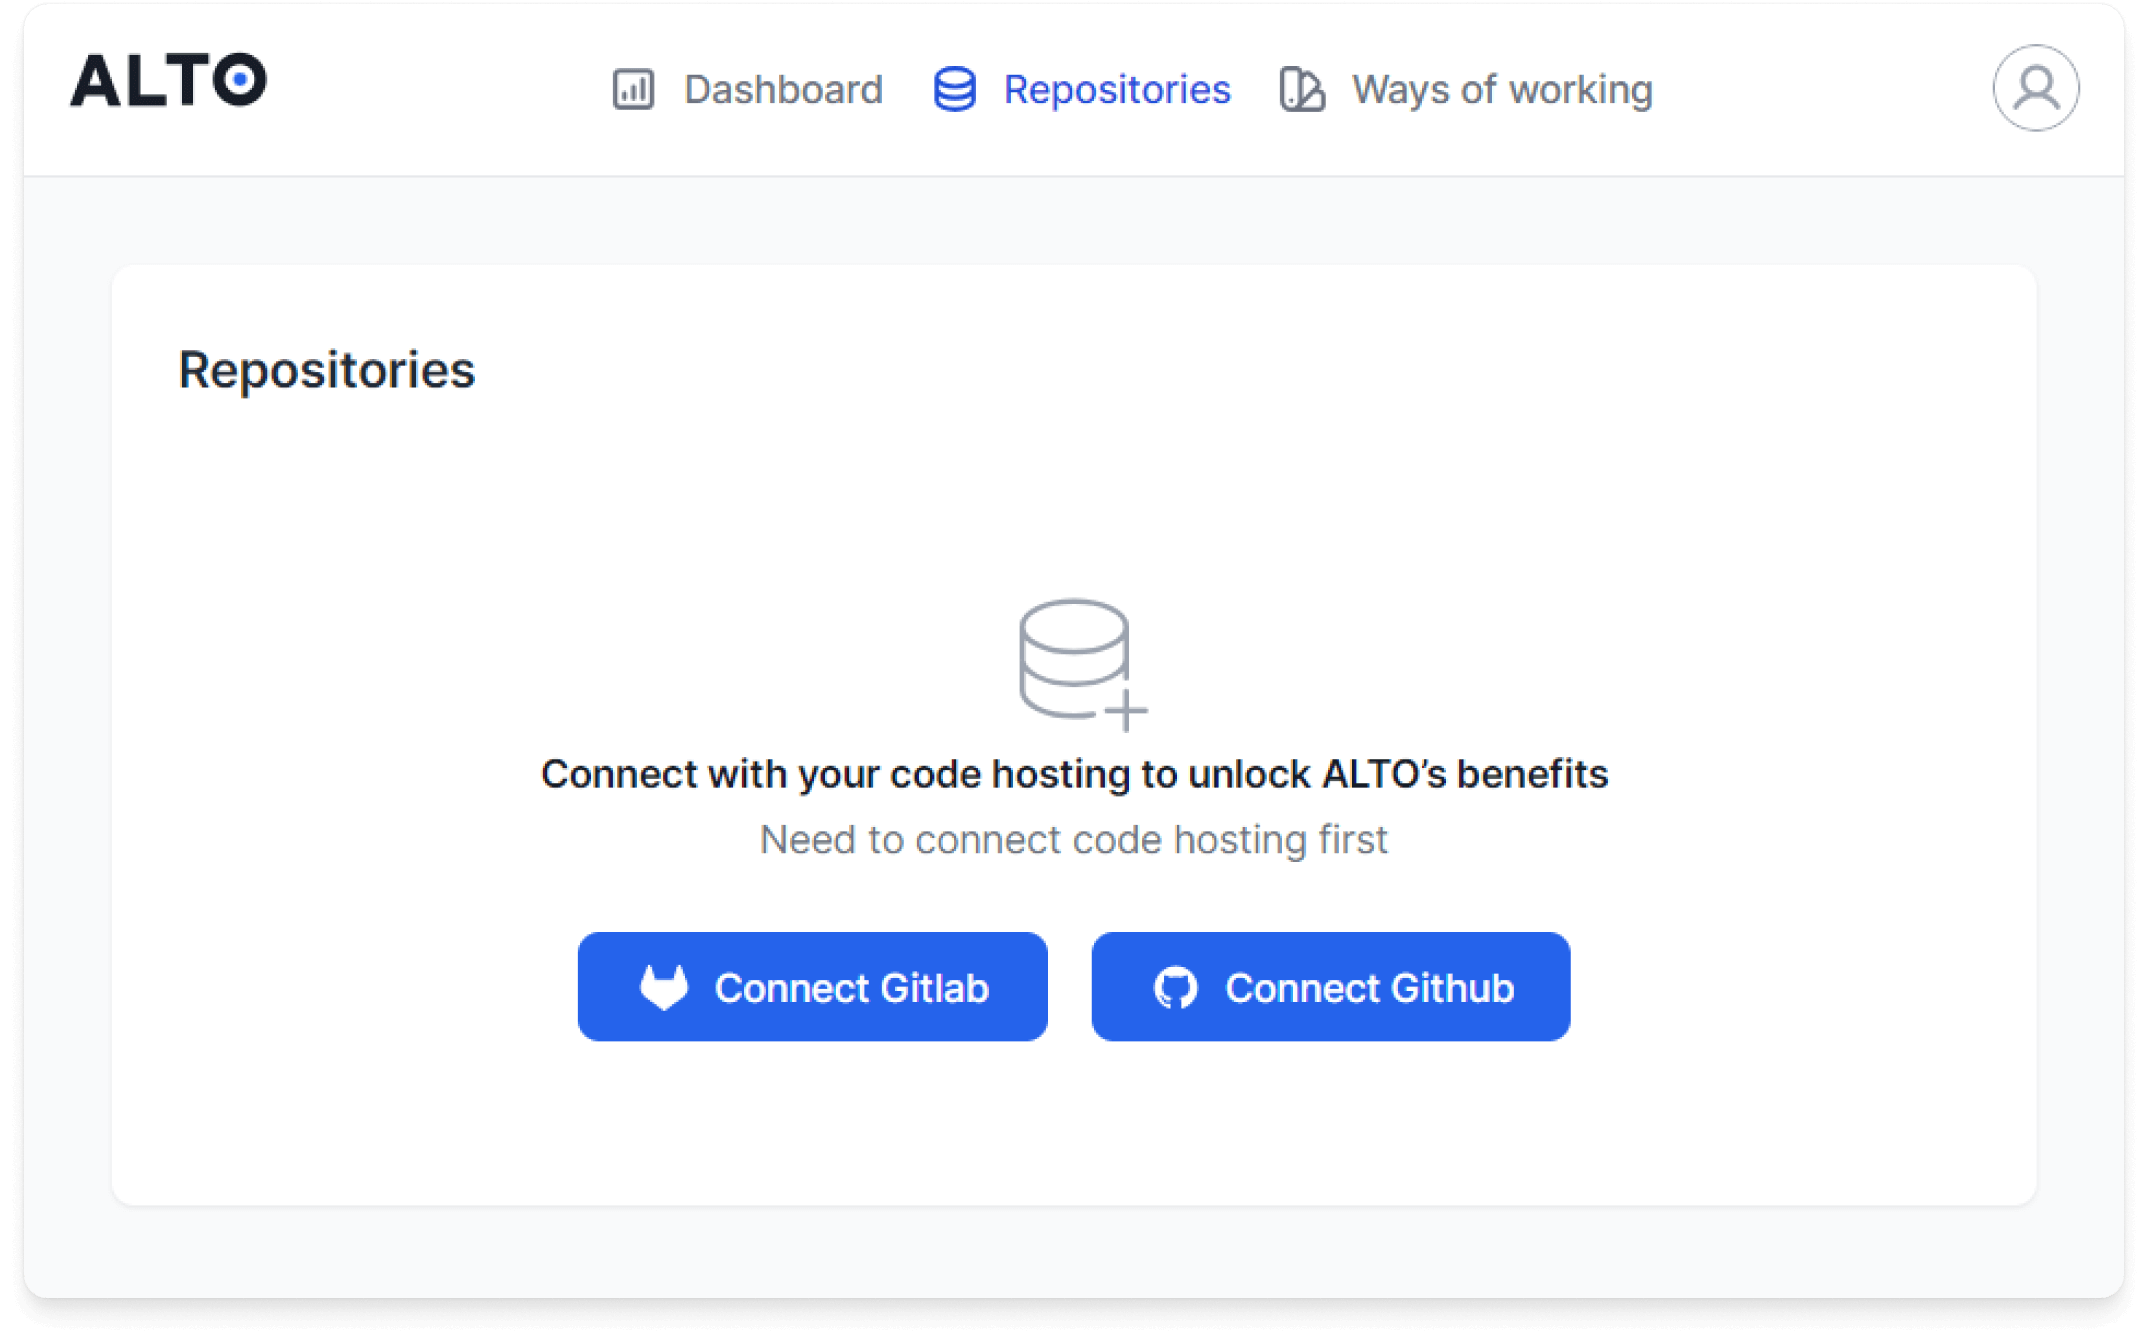
In the web app, you can connect your GitLab or GitHub account to ALTO.
Automatic connection
Secure. Easy. Fast(er).
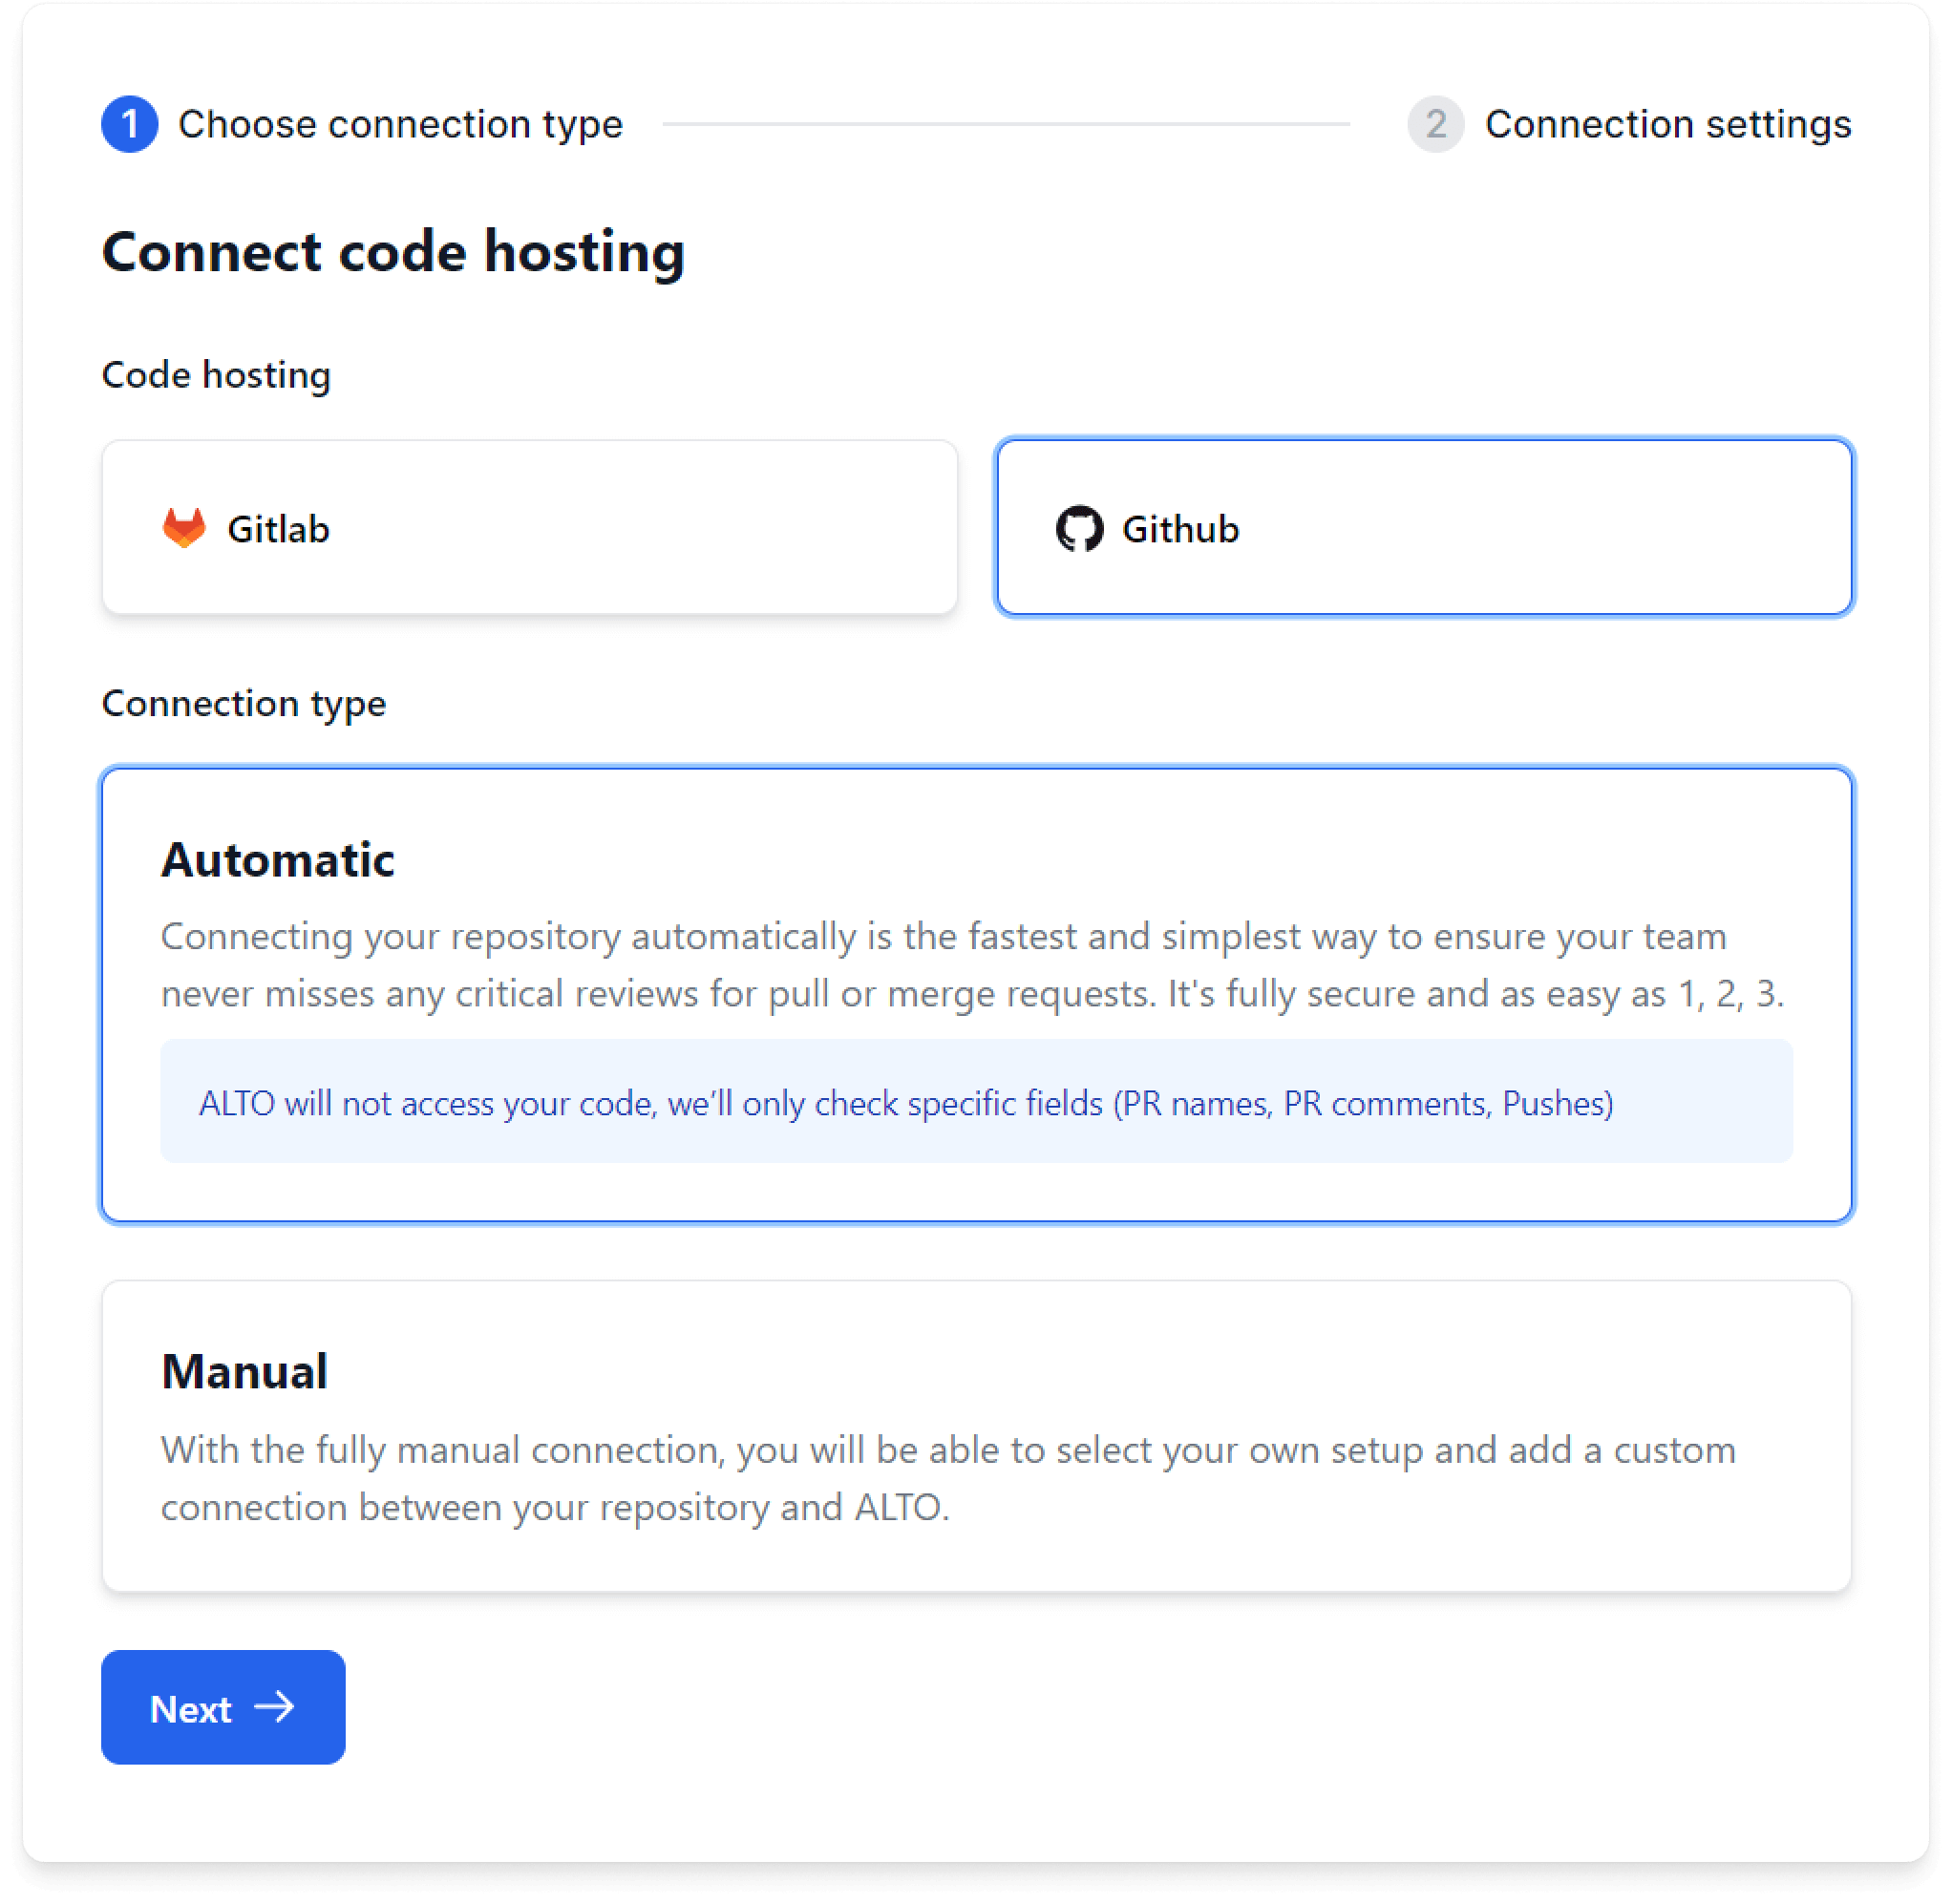
Once you've authorised ALTO, you will receive a confirmation message in Slack. The Installation is complete 🎉
Manual connection
Secure. Easy. Fast. Personalised
Based on your code hosting platform, the steps may vary a bit. To set the manual connection based on your preferences, please follow the steps below:
GitLab
- Open Repository >> Click `Settings` and select `Webhooks`
- Click `Add New Webhook`
- Into the `URL` field paste our `Webhook link`
- Check events you want ALTO to access:
- Push events
- Comments
- Merge request events
- Pipeline events
- Enable SSL verification
- Click `Save changes`
GitHub
- Open Repository >> Click `Settings` and select `Webhooks`
- Click `Add webhook`
- Into the `Payload URL` field paste our `Webhook link`
- Define `Content type` as `application/json`
- Leave the `secret` field blank
- Enable SSL verification
- Pick `Let me select individual events` and check:
- Check suites
- Pull request comments
- Pull request review threads
- Pull request reviews
- Pull Request
- Pushes
- Mark `Active checkbox` as checked
- Click `Add Webhook` button
Once you've authorised ALTO, you will receive a confirmation message in Slack. The Installation is complete 🎉
Get a demo
Since you are here…
💡 Have feedback or questions? Contact us


